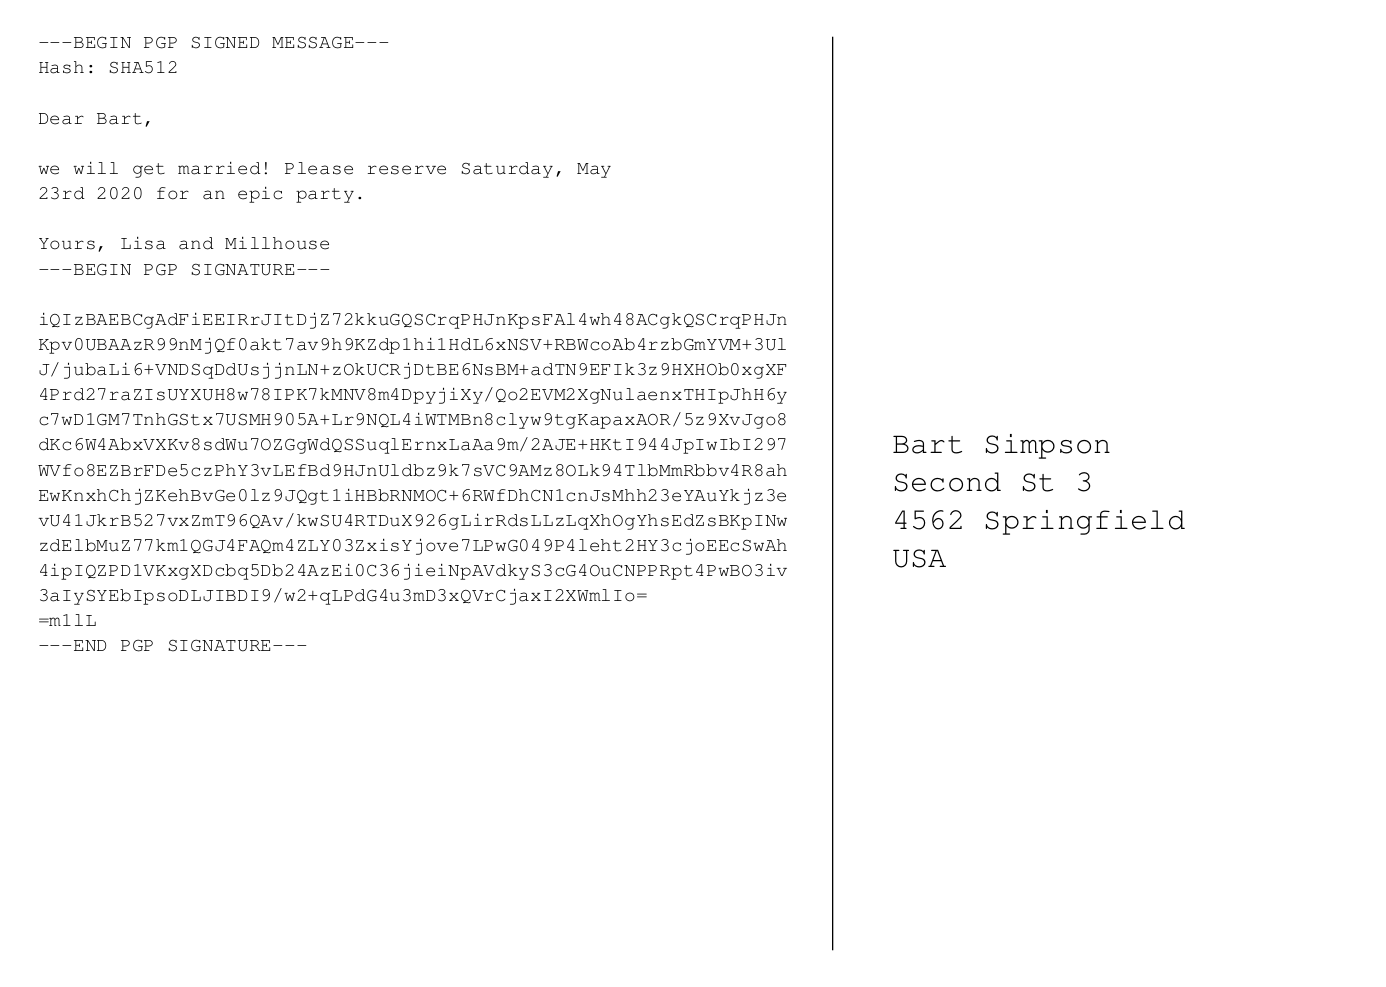
Information security is important – also when getting married. To ensure your wedding guests that it is indeed you getting married, you can – and should – use cryptography. When we got married about a year ago, we had PGP/GPG-signed save-the-date cards. See below how I created those (with code!).

The rough idea was the following:
- Generate individual texts for the back of the card based on a CSV file with the recipients’ data.
- Sign the text with a GPG key generated for our common email address.
- Create a tex template of a postcard and insert signed message.
- Generate the pdf and send it to the printer.
Step 1: Common email address
I guess the most romantic part of creating there cards was the epiphany that for a proper GPG signature you need a GPG key of for a real email address. And what would more romantic to create a common email address like lisa-and-millhouse@simpson.com and make it forward all mail to both of the individuals that are getting married.
Step 2: Create a GPG key
Once you have the email address, you can create a GPG (or PGP) key for it. We used gpg2 on an Ubuntu for it.
Step 3: Collect your guests’ data
For the card we created a CSV file containing our guests’ data:
- Post address
- How we want to address them in the opening of the text. Depending on what terms you are with them, you might have a range of “Yo, bro!” and “Dear Aunt Mary,”.
- Whether we address them in the singular or plural form (in German, that make’s a difference).
- How we want to close the text. Here for example, we put the person’s name first who is closer to the guests, e.g. “Best regards, Lisa and Millhouse” vs. “Best regards, Millhouse and Lisa”.
Step 4: Generate the texts
To generate the text for the back of the cards I used a Jinja2 template that would contain a couple of if-statements depending on the variations listed in Step 3. My script then wrote the generated text to text files.
Step 5: Sign the texts
Here, my script basically does what a human user would do when signing a text file. Basically a
gpg2 --armor --clearsign --local-user <KEY_ID> text.txtNote, that you need to run a gpg-agent, or otherwise you have to type in the passphrase of your key as often times as the number of guests you want to invite. And you did generate a key with a proper passphrase, right?
Step 6: Insert the signed texts into a tex file
As easy as it sounds, this took the most fine-tuning. As both jinja and tex use various control characters like “{ }” and “%”, I abstained from using jinja here and resorted to some simple string substitution.
Mind you, this whole endeavor will be fun enough. Encoding errors and wonderful hboxes are the least of it. In particular, it was tricky to make sure that the signed message was rendered in the pdf to look exactly like the original text message, because otherwise your guests will have trouble to verify the signature. And it becomes all the more fun if your text is not in English but in a language with umlauts. Also, whitespace is not as innocent as it looks.
Step 7: Render the individual PDF files
That is basically a pdflatex on the tex file. Easy once you have all the encoding and whitespace traps.
Step 8: Merge the individual PDFs into one
… and off they go to the printer. But before that, we suggest you double-check that the messages’s signature is actually verifiable (at least with one or two).
The code for this is on github. Have fun!
Also, don’t be disappointed if the number of guests who really try to verify it is rather small. Information security does not have a high priority in the common population, unfortunately. 🙁